The concept of pre-approvals is to allow a user to get pre-approved for a loan before they start shopping for a car. This allows the user to know how much they can afford and what their interest rate will be. This is a great way to get users to commit to a purchase.
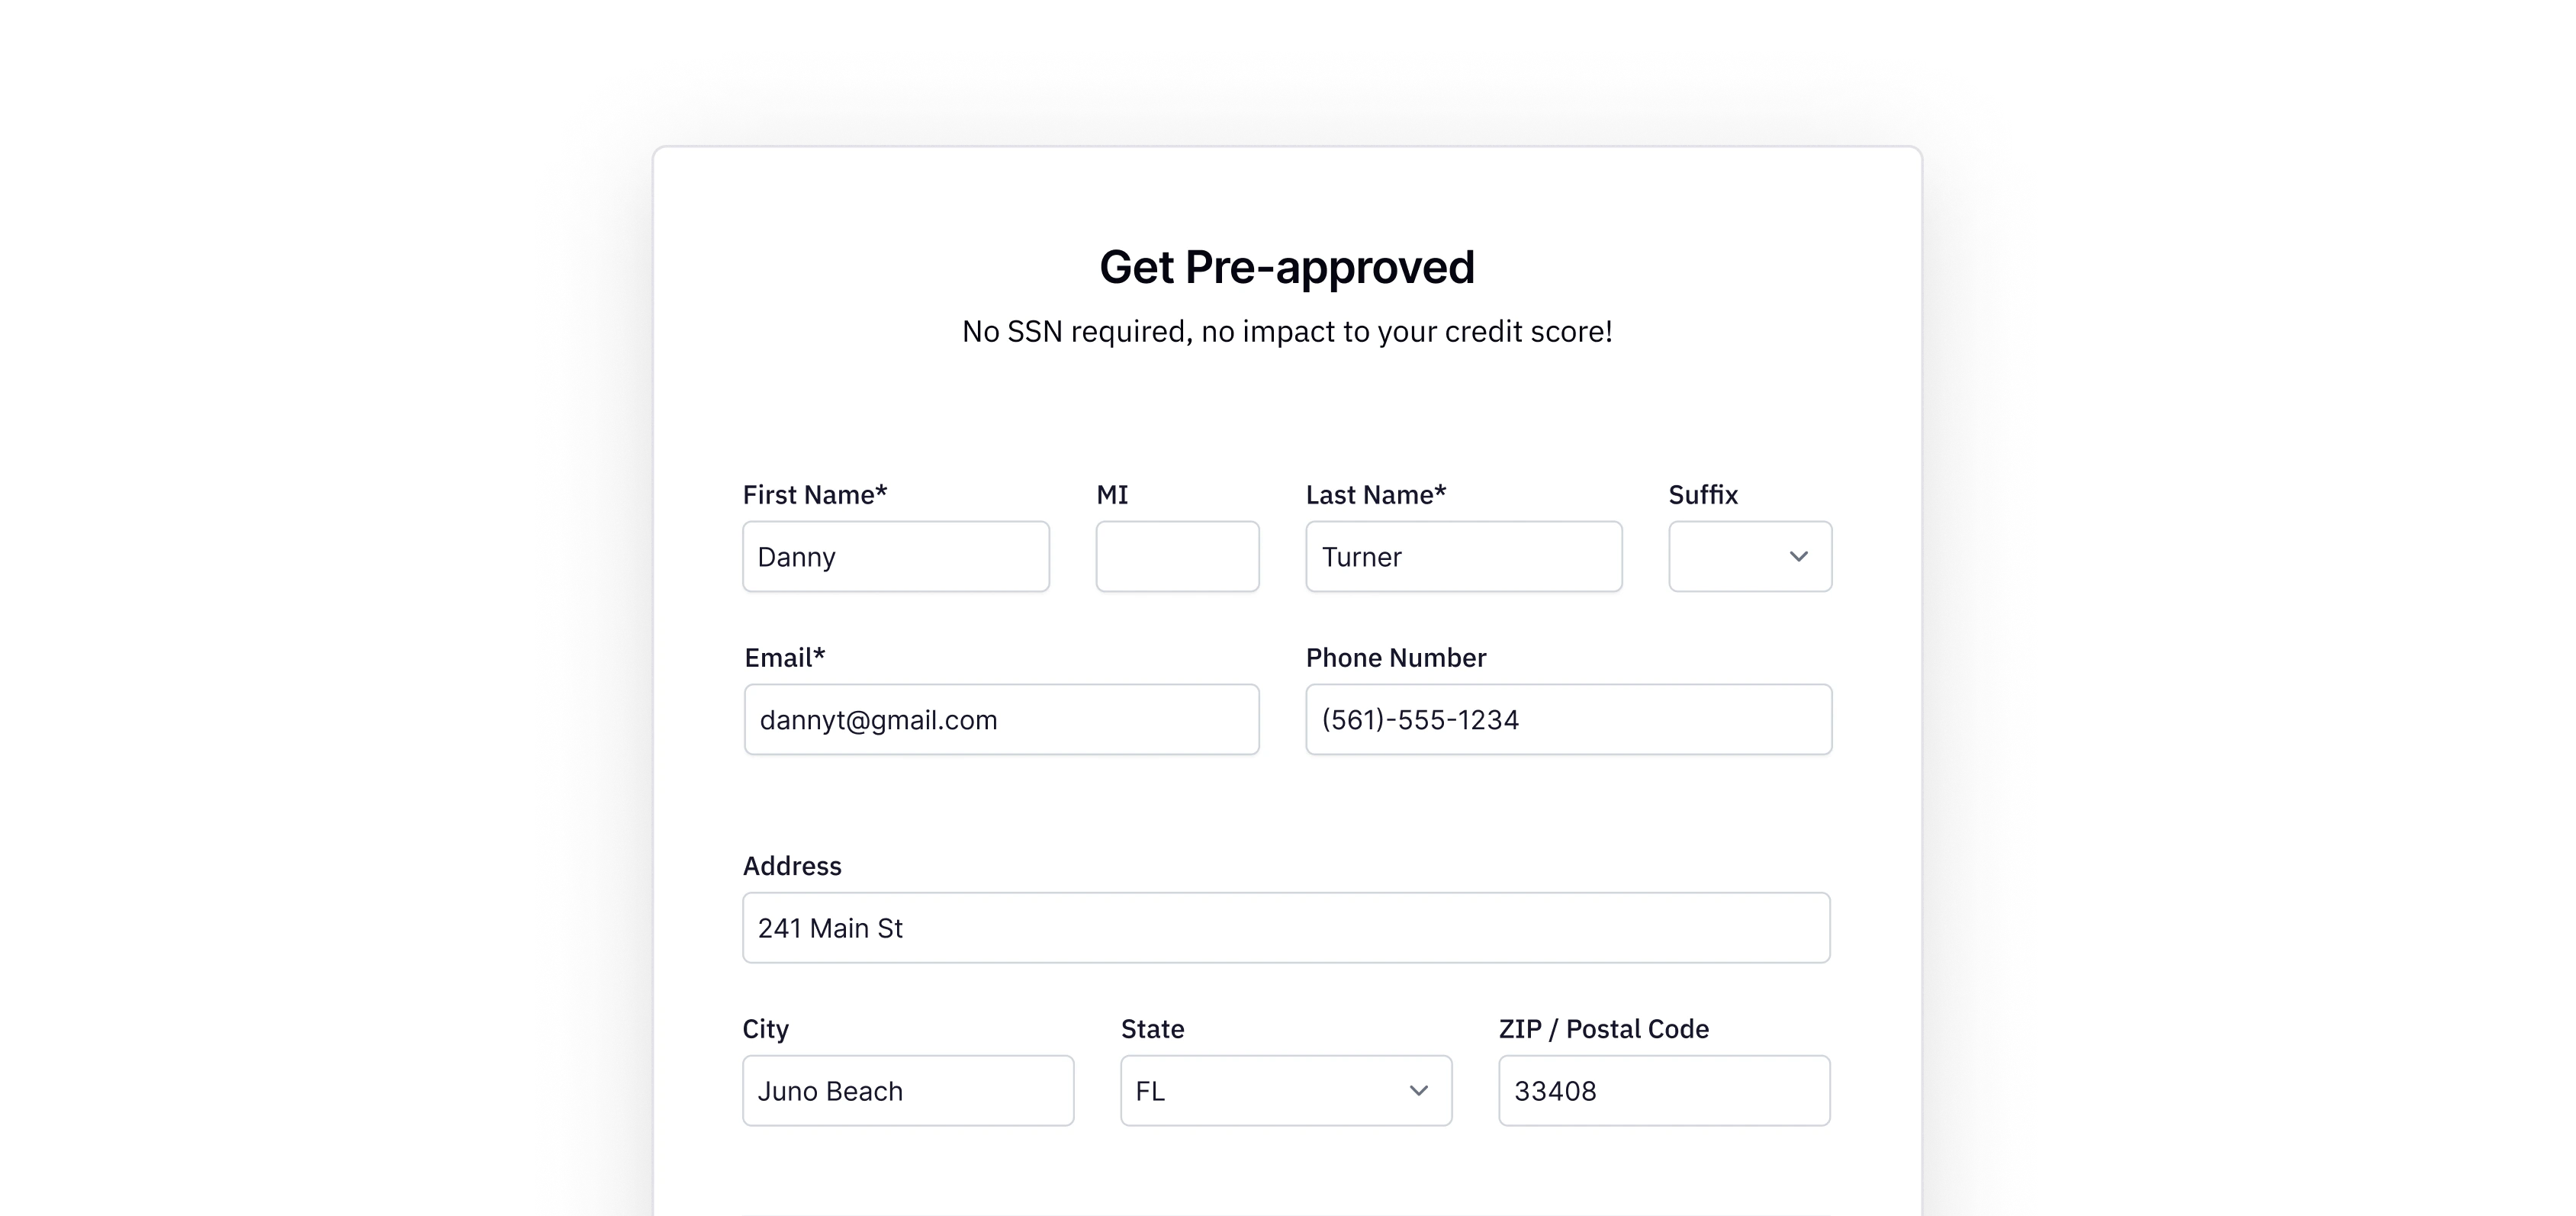
Danny is looking to buy a new car. He wants to know how much he can afford and what his interest
rate will be. He goes to the Drivly website and fills out a form to get pre-approved.
Next, we will use Zod to create a schema for the Pre-Approval. This schema will be used to validate the form data before we send it to the server.
import * as z from 'zod'import { states } from './states'export const PreApprovalSchema = z.object({ firstName: z.string(), middleInitial: z.optional(z.string()), lastName: z.string(), suffix: z.optional(z.enum(['', 'JR', 'SR', 'II', 'III', 'IV']).nullable()), email: z.string().email(), phone: z.string(), address: z.string(), city: z.string(), state: z.enum(states), zip: z.string(),})export type PreApprovalSchema = z.infer<typeof PreApprovalSchema>
The states is an array of all the states that are defined in the SDK’s exported interface PreApproval. You will need to either create this array or cast the value of state from string
to as PreApproval['state'] to ensure that value is valid for the SDK.
Now that we have the schema and the SDK setup, we can create the form that will be used to collect Danny’s information. We will use react-hook-form to handle the form state and @hookform/resolvers to use the Zod schema to validate the form data.
PreApprovalForm.tsx
import { PreApprovalSchema } from './PreApprovalSchema'import { zodResolver } from '@hookform/resolvers/zod'import { useForm } from 'react-hook-form'import { createPreApproval } from './preapproval.action' // server actionexport default function PreApprovalForm() { const form = useForm<PreApprovalSchema>({ resolver: zodResolver(PreApprovalSchema), defaultValues: { firstName: '', middleInitial: '', lastName: '', suffix: undefined, email: '', phone: '', address: '', city: '', state: '', zip: '', }, }) const onSubmit = async (data: PreApprovalSchema) => { const result = await createPreApproval(data) console.log(result.message) } return <form onSubmit={form.handleSubmit(onSubmit)}>{/* ... */}</form>}
Server Side Integration: Server Actions, Serverless Function, or API Route
We will use Server Actions for this example.
Let’s create a server action that uses the SDK to create Danny’s pre-approval.
Danny can now fill out the form and get pre-approved for a loan. We can then use the preApprovalId to access his pre-approval. This will allow you to show him cars that he can afford and give him an idea of what his interest rate will be.